
So here it is though the more I look at it the more I think I should add another ribbon on the top and bottom. Is it perfect? By no means! But the girls like it and that is what matters.
So let's start at the beginning. Remember those frames I said I had plans for in my last posting *shimmer to past*

Well I decided to jump in feet first though it has taken me several days this week to get it done just because of time restraints. I'm sure if I had a few hours put all together I could easily get it done but that hasn't been the case recent.
 So how did I do it? Well about as simply as possible and trying not to buy too much. I had the frames and I had some ribbon (though it was too large what you see is after I cut it in half to get thinner strands) so what I needed was backing, fabric and batting.
For my project I choose to use a foam backing. which meant trimming it down to size to fit in those old open framed cabinet doors. For this task I used a model knife and just scored it repeatedly until I could snap it easily and then flipped it over and took the knife along the crease that showed (for those that don't know foam board is paper lined on both sides)
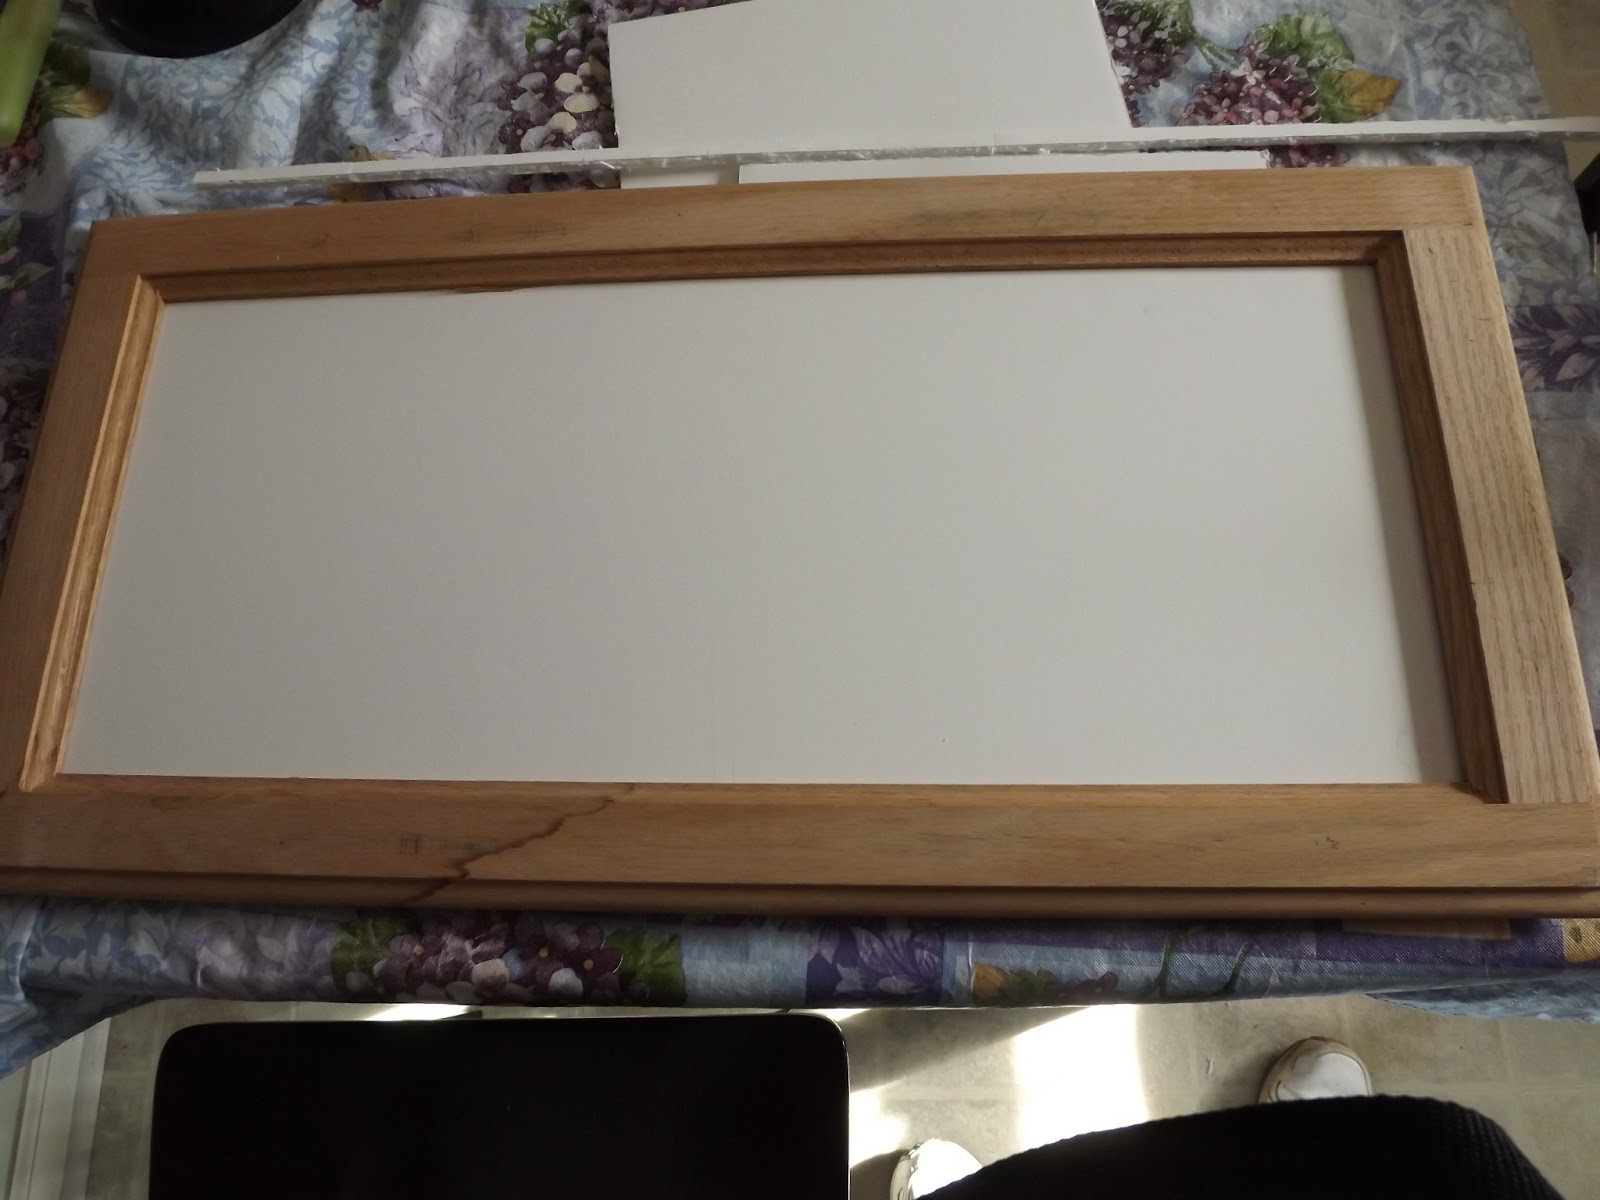
Like a glove.... Later to find out a bit too tight because the fabric is going to be wrapped around it.
*Which not done tonight with it but my plan is to use our heavy duty staple gun to secure the foam to the frame... first I need to find where the staple gun ran off to though.

I cut the fabric and batting.
For this I cut the batting to the size of the front of the board. If you look this up you'll see people wrap it around the cork board or canvas they are using and then pin it in. I'm using foam board so not really an option for me and it must fit into the frame for me.
I did leave a couple inches on each side of the fabric so that it would wrap around the foam board so that I could attach it.

This is with the foam board on it and my big shadow!

I inserted the fabric and then the batting and placed the foam board in place. I did NOT iron the batting. I ran a test because I was curious if the foam could hold up. The foam board did just fine but ironing batting causes it to go flat. Did you know that? I didn't and I'm glad I tested on a scrap before actually doing it!

Tugging the fabric so that it is snugly around the board so there aren't folds either on the front or stuck inside the frame I then began to hot glue the fabric to the board. For this I used a low heat glue gun. 1. because I was using foam board (are you noticing how important your material types are?) and 2. I don't hurt myself so much with a low temp glue.

Everything is glued in place! Now time to remove th board again. (I'm probably making this harder than it had to be. I'm starting to get that feeling.)

I measure out how far I want each set of ribbon spaced. And then I pin it in space. While the pin won't hold indefinitely and will poke through the foam board it will work as a temporary hold.
(This is my first spacing. My math was correct but I started looking at the tape measure wrong... it's been a long day.)

Everything in place you start by gluing the end of the ribbon onto the back side of the board.... I should have taken a picture shouldn't I? Oops.
Leave gluing the middle until all the ribbons are secure. You can also use things like tacks but you'll want to put a dab of glue on the back side to keep them from falling out from what I've read.
And There you have it. A fabric memo board. Now I bought WAY too much fabric. I was very tired when I was trying to do the math from everything I want to use this fabric for but it wouldn't take much it just depends on the area you are trying to cover. I bet if you have some scrap fabric around you could do like a patch quilt design too! You don't have to have a frame either. It looked pretty neat without one to tell the truth. The batting I got a large thing of it for like $5, my fabric was about $4.48/yrd., the foam board I believe I spent $3.50 on a board large enough to do two of these frames, the ribbon well I actually got that at Christmas Clearance and paid 50 cents a roll but I bet if you look around you could find a good deal.Hmmmm I'm going to think on if I want to put that extra ribbon on or not. Decisions, decision.
That looks great! Has me wondering if I could put together a "boy" style of the same project. Hmmm....
ReplyDeleteI'm sure you could or make a pretty one for yourself. I'm half tempted to make another one to stick bills and important notes in LOL but know it'd just get junked up ;)
DeleteBut thank you :) I was happy with my first attempt and the girls love it so it's a win win.