
So today I've been working hard mostly just to stay awake because I was up at 4:30 this morning to get my oldest daughter ready and down to the school for a trip with the Jr. Beta club to Louisville for their state conference. I decided to tackle the magnetic board I was saying I was going to make for the kids.
So I grabbed some metal sheeting we had left over from when we had all our ducting changed out for it to stop animals from messing things up under the house.
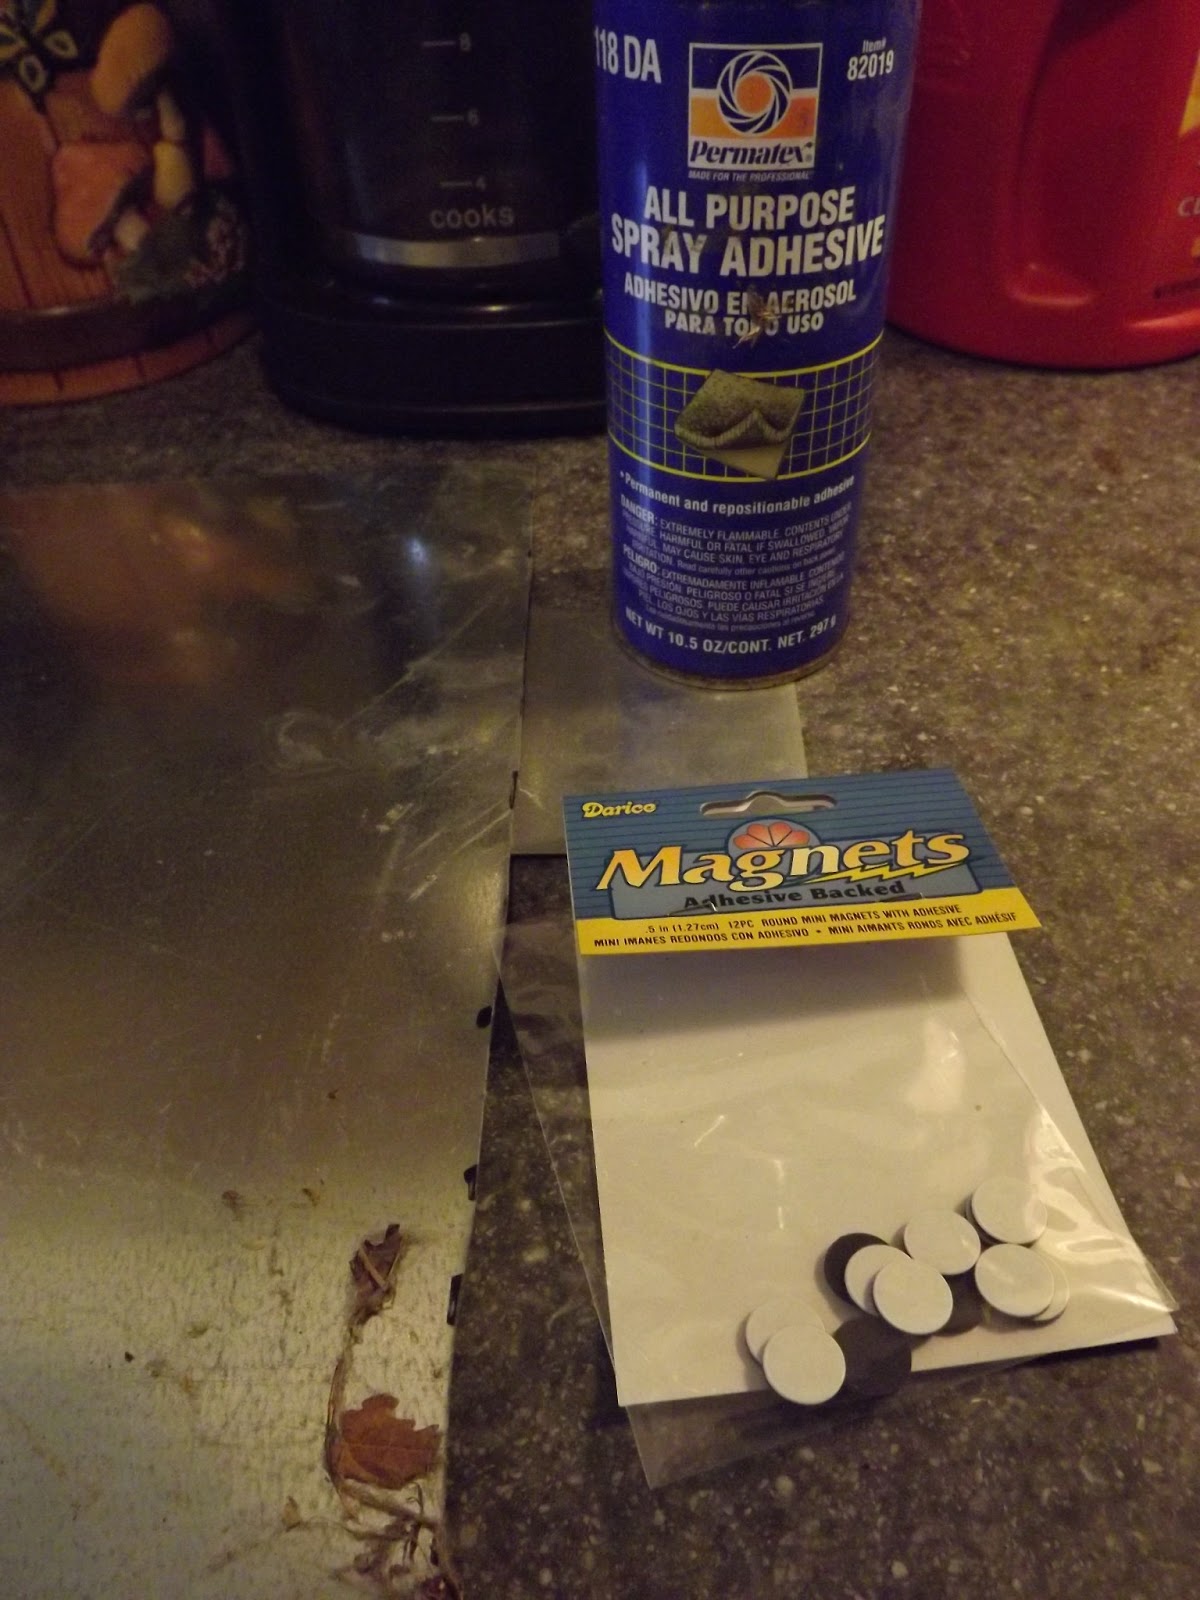
I had some spray adhesive from when I tried to fix the roof liner in my van.
I also bought some magnets though I haven't gotten a decoration I like for those yet so I'll be doing that quick project later.

The last of my foam board (I'll have to buy more). I'm really enjoying the sturdiness of foam board and the ease of cutting it compared to using something like plywood.

First I cut my foam board to fit my frame snugly.

I put a line of where I need to cut my metal though my line is far from straight because being silly I drew it off of the foam board itself.


Now as you can see in this picture (other than my stove is dirty! I've been doing projects not chores! I've got some major catch up to do) my metal did not fit the frame because I was using scraps so I had to take my left over scrap and cut another piece to fit in there with the first.

I did do it as you can see.

Later I found out that the adhesive spray actually does a pretty good job and I just dotted around the outside with hot glue.

I refit everything into my frame to make sure there was no additional trimming that needed to be done. Thank goodness there wasn't otherwise this could have been an even bigger headache.

Using adhesive spray I coated the metal and then placed my fabric over top of it. I smoothed it out start from the center and going to the outsides.

Back to my handy dandy glue gun. Using the glue gun I put a line around the edge of the fabric and attached it to the foam board. Again, I love low heat because I had so much glue on me it wasn't funny when trying to make sure the fabric was pulled tight.
I believe my next board will be a cork board for them but first I need to get a couple more supplies.
Hope this gives people some good ideas maybe there is a few items floating around your house that can be used to make something new and useful.
(Note: I do plan to get some sort of way like a thin strip of wood to attach to the inside back of the frame to make sure they don't by accident push the board out though it's pretty tightly in there I just want to make sure.)
No comments:
Post a Comment